Hi, Jake here 👋
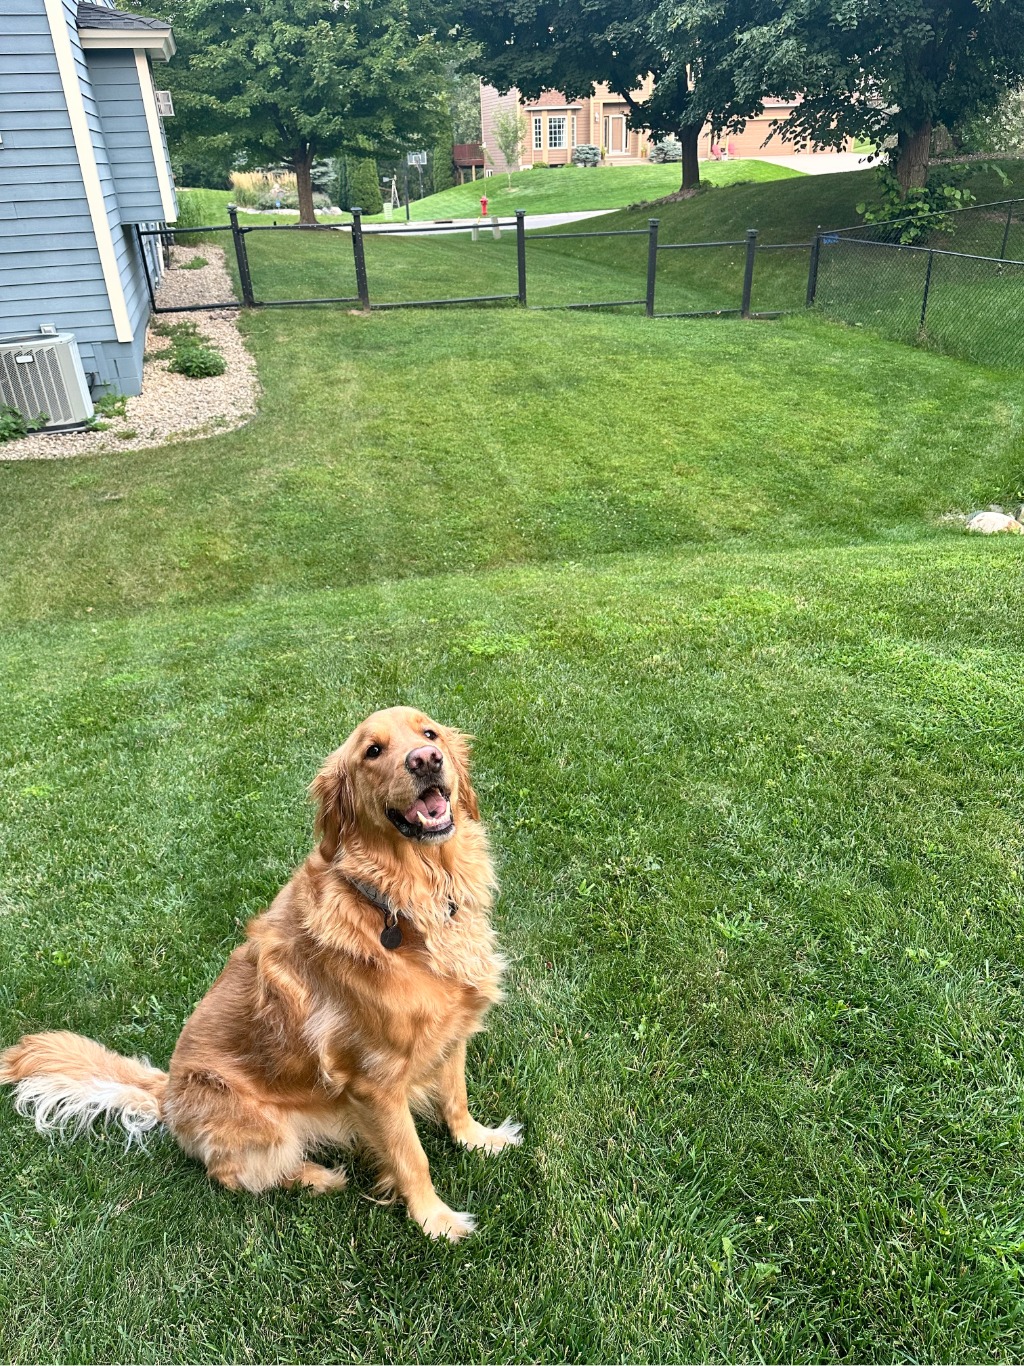
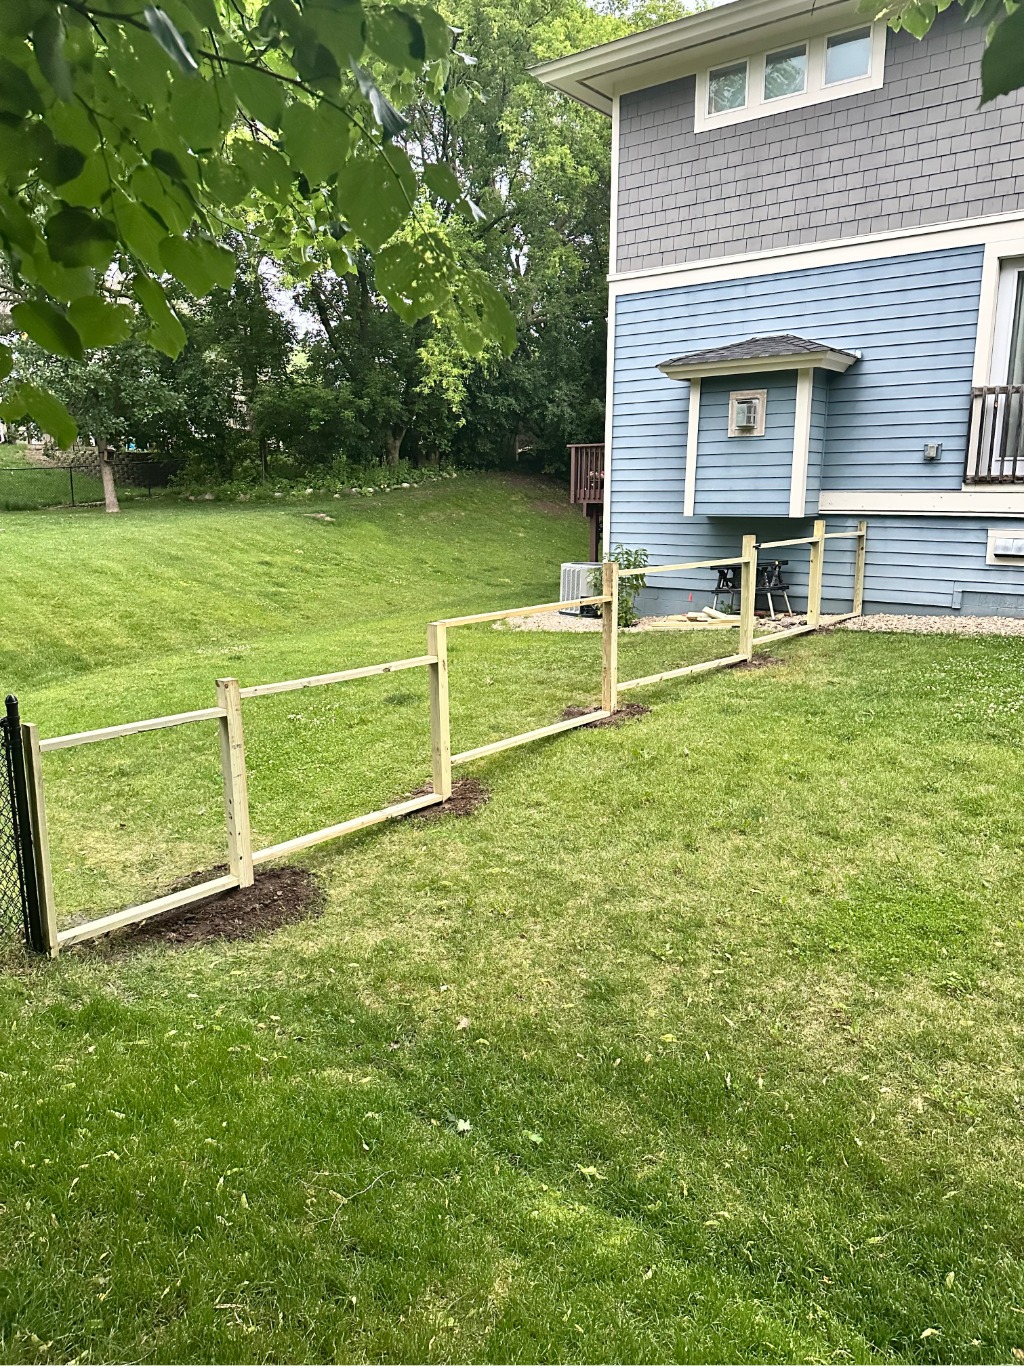
We needed a fence to keep our dog from wandering the neighborhood. I got a couple quotes for black chain link to match the neighbors, but both came in around $5,000. A lot to spend just for a pup! After failing to negotiate the price down, I decided to roll up my sleeves and build it myself.
🪚 The Design
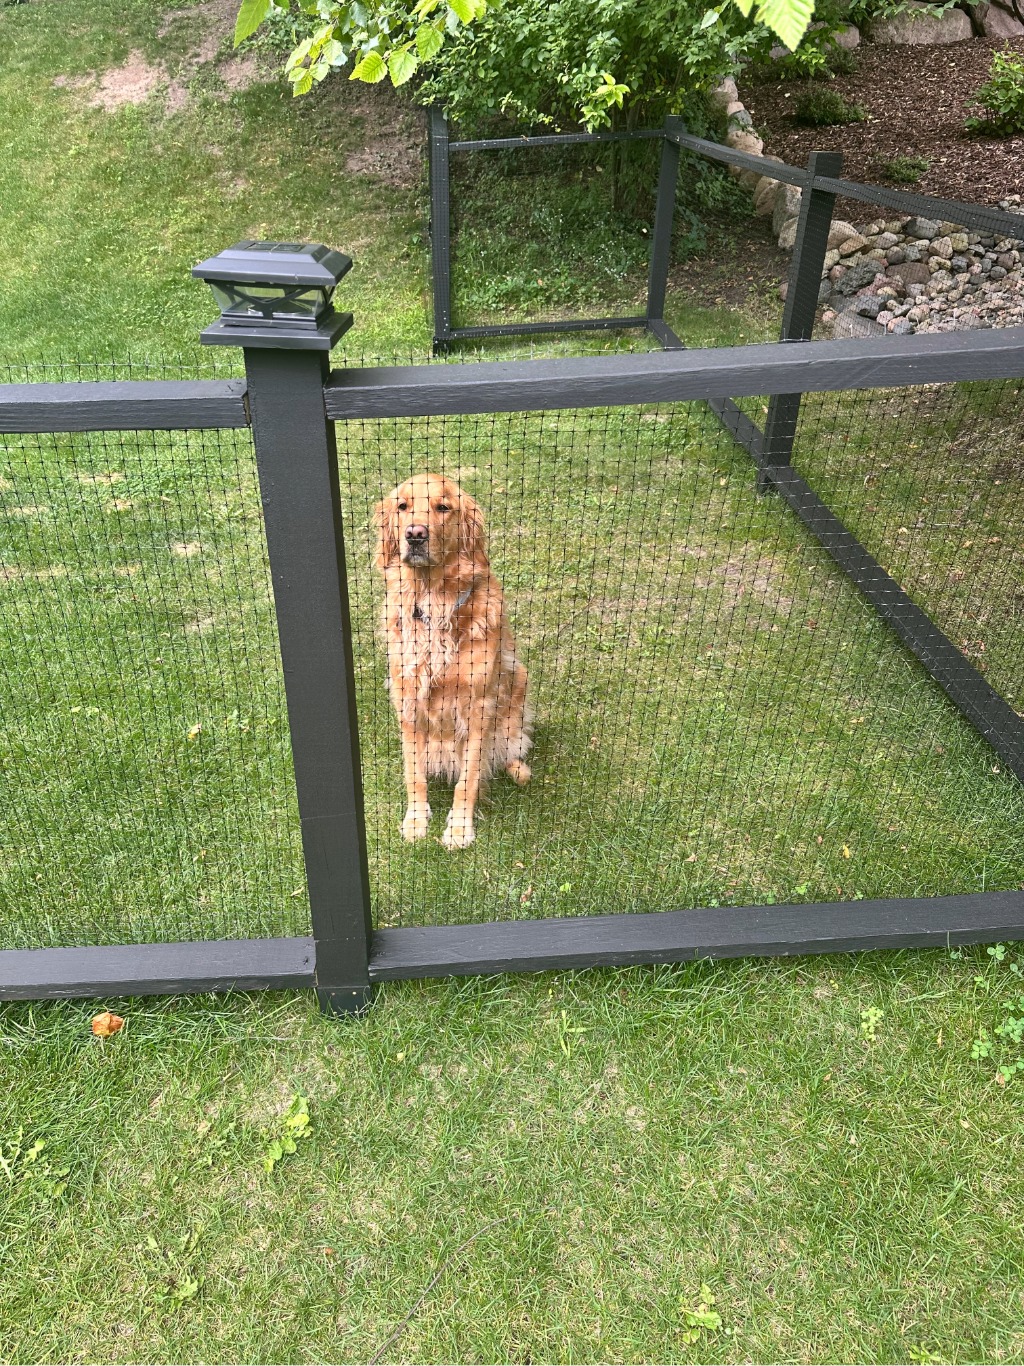
Instead of chain link, I went with a simple design:
- Pressure-treated 4x4 posts set ~2 ft deep (shortened to 4 ft when using anchors)
- 2x4 rails top and bottom
- Deer netting stretched and stapled between posts and rails
Lightweight, affordable, and effective — the netting keeps the dog in without blocking the view.
🛒 Picking Up Materials (Menards Experience)
To start, I made a few trips to Menards for posts, rails, paint, and hardware. If you’ve never bought lumber there, here’s how it works: you grab a ticket for the size/quantity you need, pay inside, then drive to the outdoor yard in back. The attendants check your receipt and your load before you drive out. Super efficient, though it took me a few laps around the stacks to find straight boards.
📸 Gallery: Menards Pickup
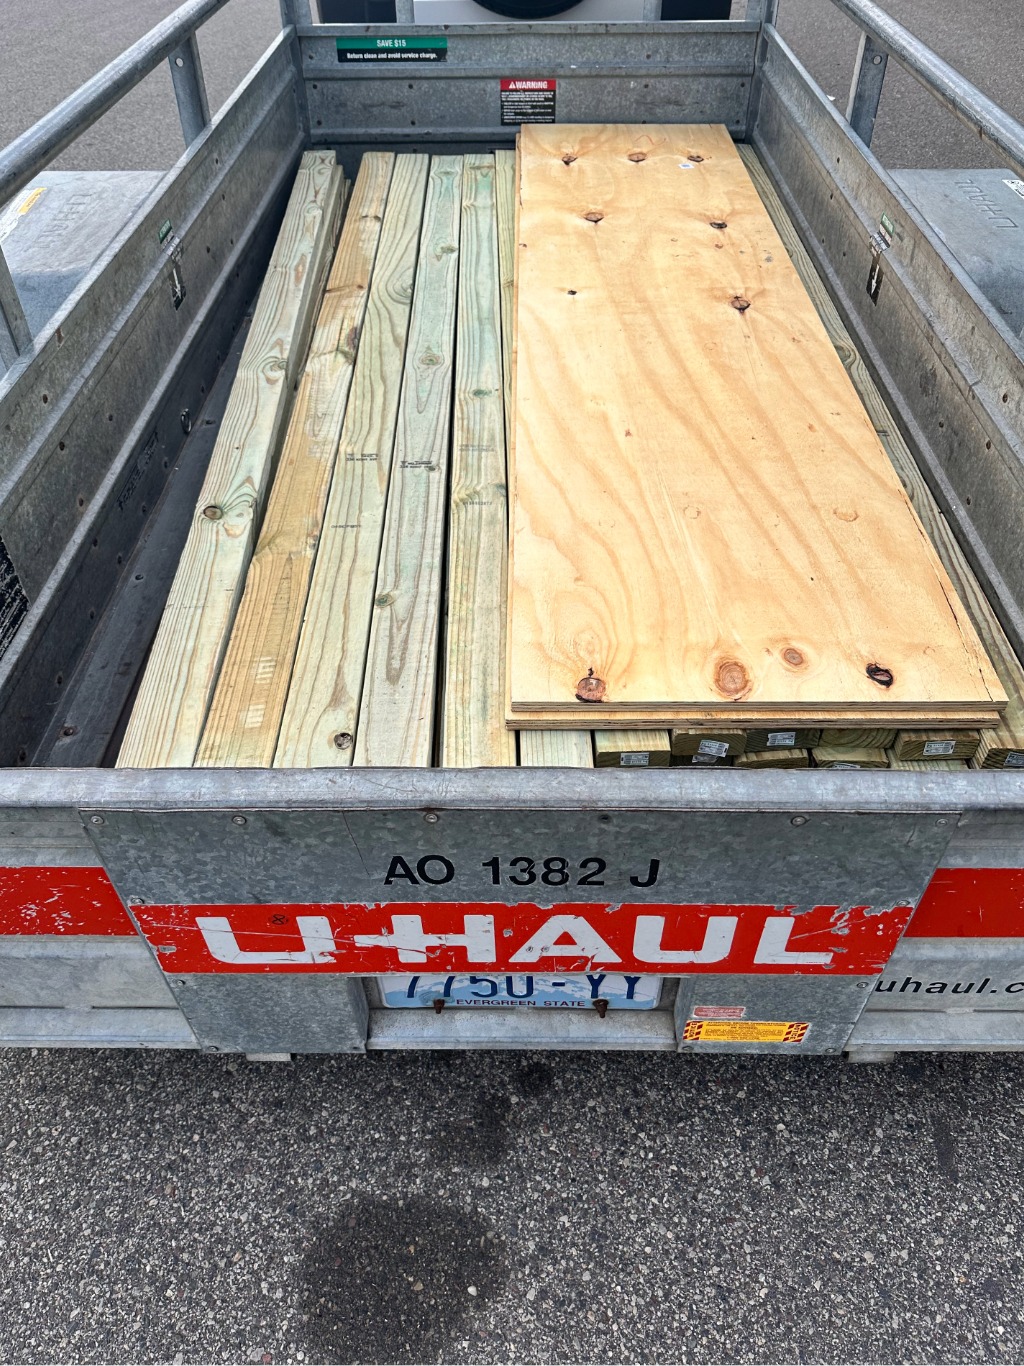

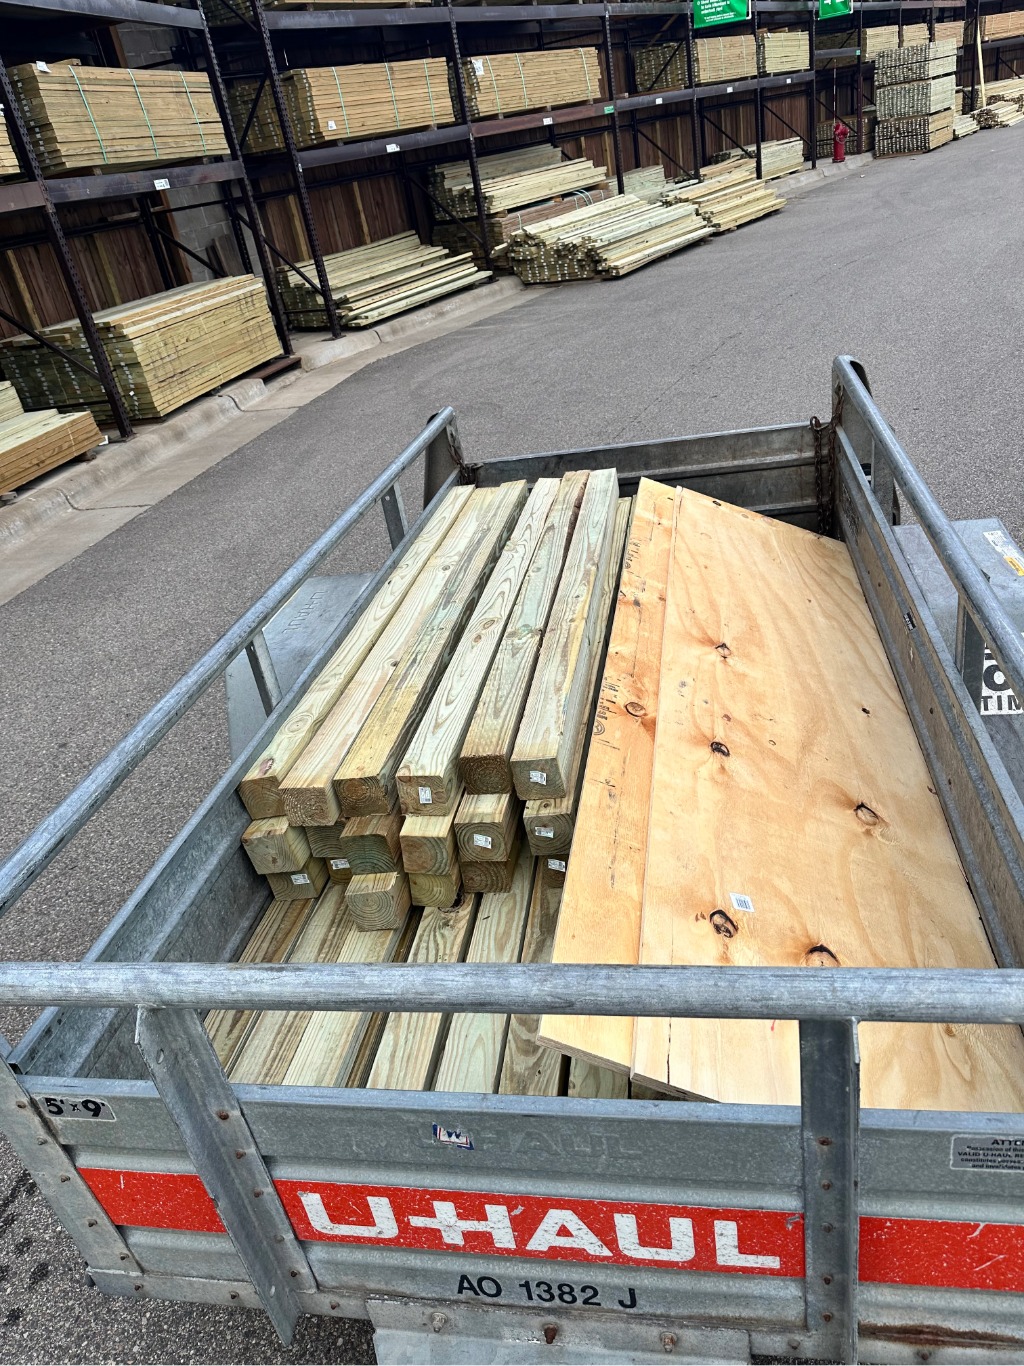
📏 Materials & Dimensions
- Posts: 6 ft pressure-treated 4x4s, ~2 ft buried (no concrete; cut to 4 ft when using anchors)
- Rails: 8 ft pressure-treated 2x4s (top & bottom)
- Netting: Deer netting stapled to rails and posts
- Fasteners: Exterior-grade screws + staples
- Paint: Deck Correct, three gallons, two coats all around
- Extras: Lighted post toppers + gate hardware kit
- Tools: Post hole digger, staple gun, circular saw, mini pocket jig, 3 lb hammer
Stretch 1 (smaller side): ~XX ft long, stepped design to follow grade, includes a gate
Stretch 2 (hill side): ~XX ft long, follows the slope through woods using post anchors
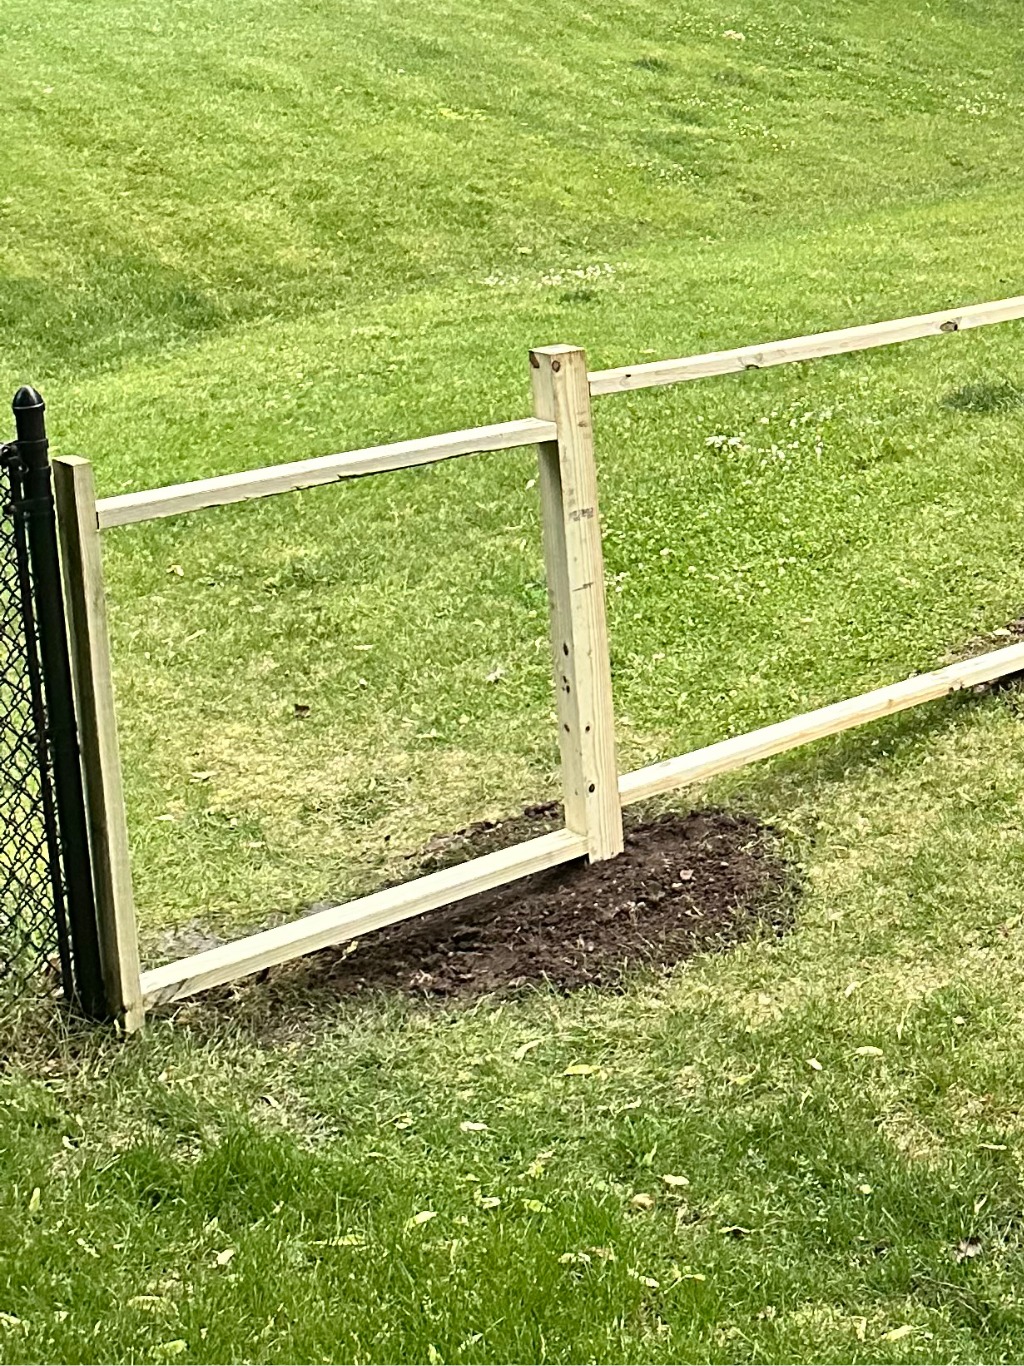
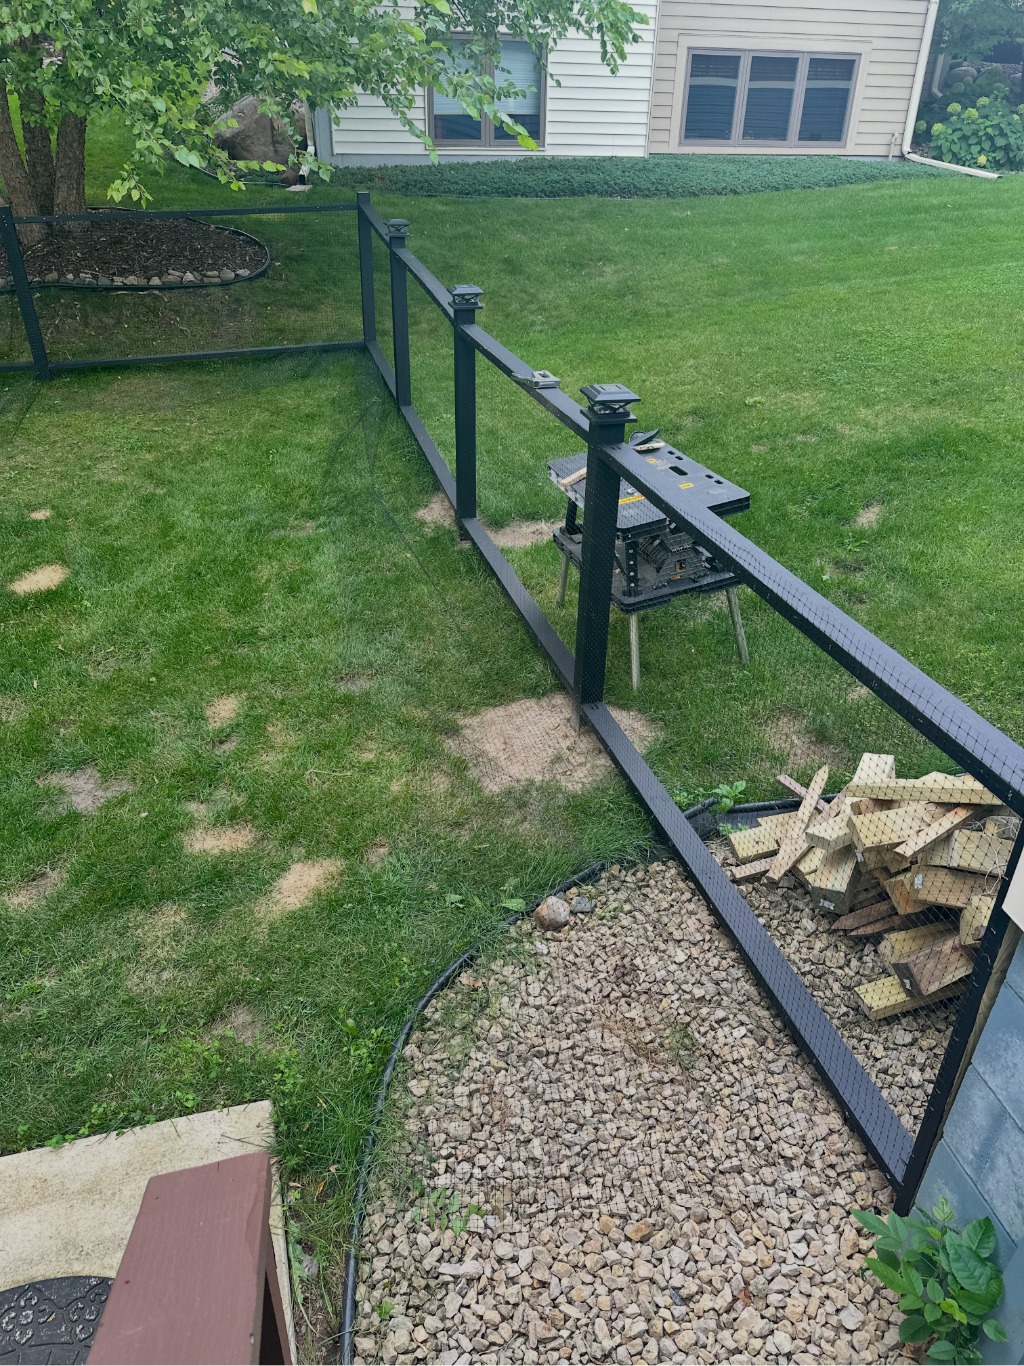
🪵 Stretch #1 — The Stepped Side
The first run was the smaller side of the yard, and this is also where I added a gate. I cut it to size and used a gate hardware kit:
Product:
Gate Hardware Kit
Loading product information...

If I were going to use concrete anywhere, this is the spot I would. Since the gate takes more load than the rest of the fence, it would make sense. But I decided to skip concrete here too and see how it holds up.
I also ran into the problem of digging near the house. Instead of disturbing the soil close to the foundation and river rock perimeter, I laid a 2x4 in ground contact to close the small gap between the house and fence line. For keeping a dog in, it works perfectly fine — no need for heavy posts or big digging right next to the house.
💡 Jake’s Tip: This is a dog fence, not a horse corral or a city permit project. Don’t overbuild unless you need to. Light posts, rails, and netting are plenty for keeping pets safe.
The rest of the side was straightforward but rocky. The last two holes were so bad I had to adjust post spacing just to get them in.
👉 Pro tip: always call before you dig! In Minnesota we use Gopher One Call, and they marked everything for me before I started.
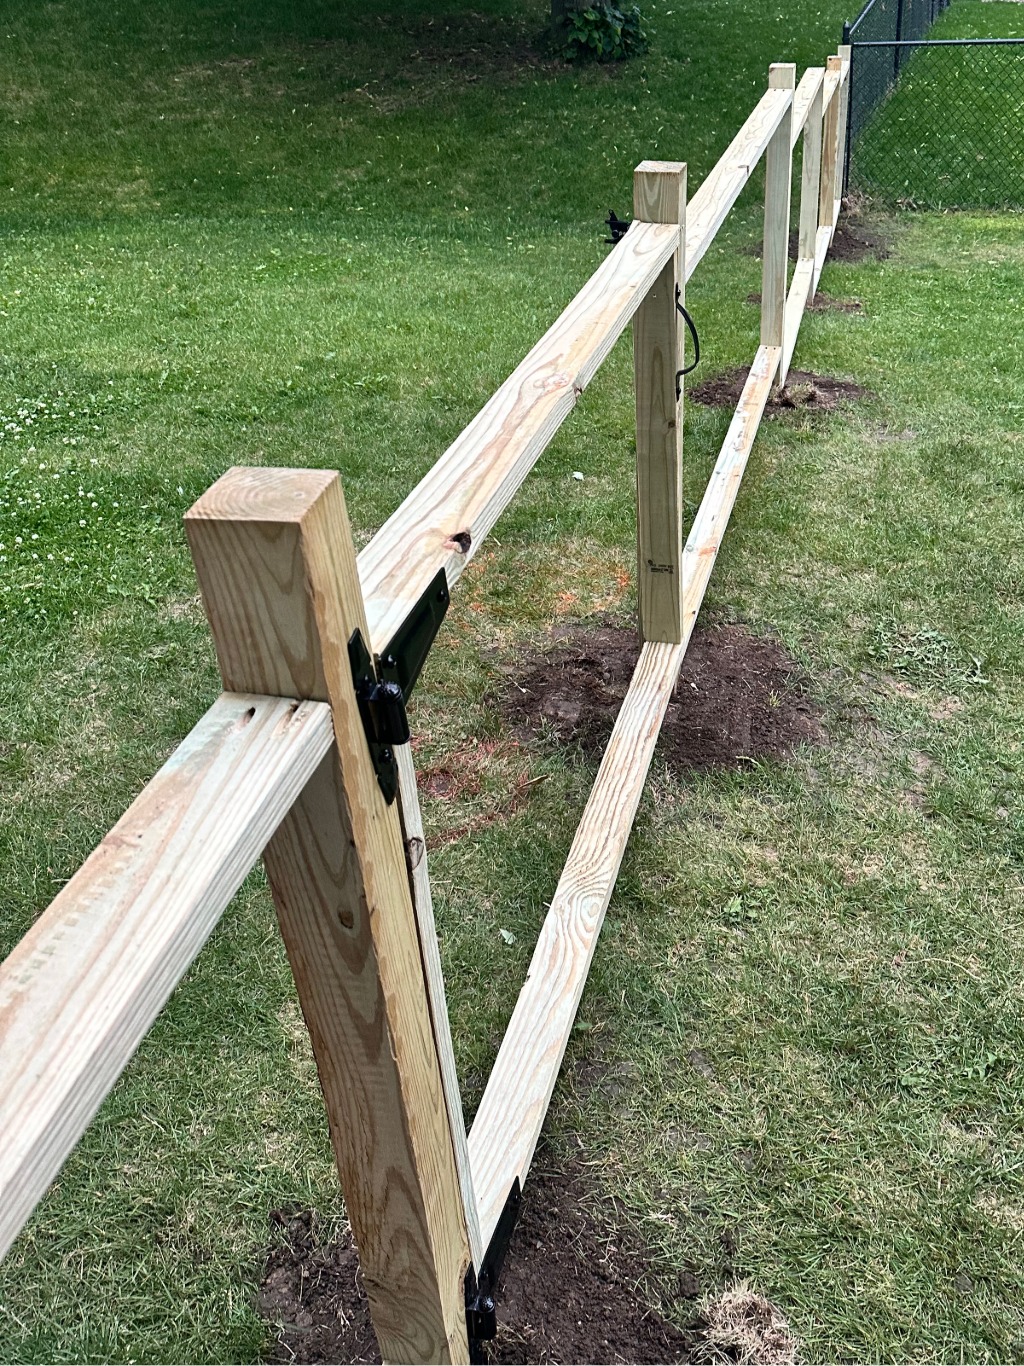
For attaching rails, I started with a mini pocket jig to screw rails inside the posts:
Product:
Pocket Jig
Loading product information...

It worked, but it was slow to line up.
I also learned how to use a circular saw to cut rails to size:
Product:
Circular Saw
Loading product information...

It was my first time with a saw, so I watched some safety videos first. Keeping proper stance and control made a huge difference.
📸 Gallery: Stretch 1 Build
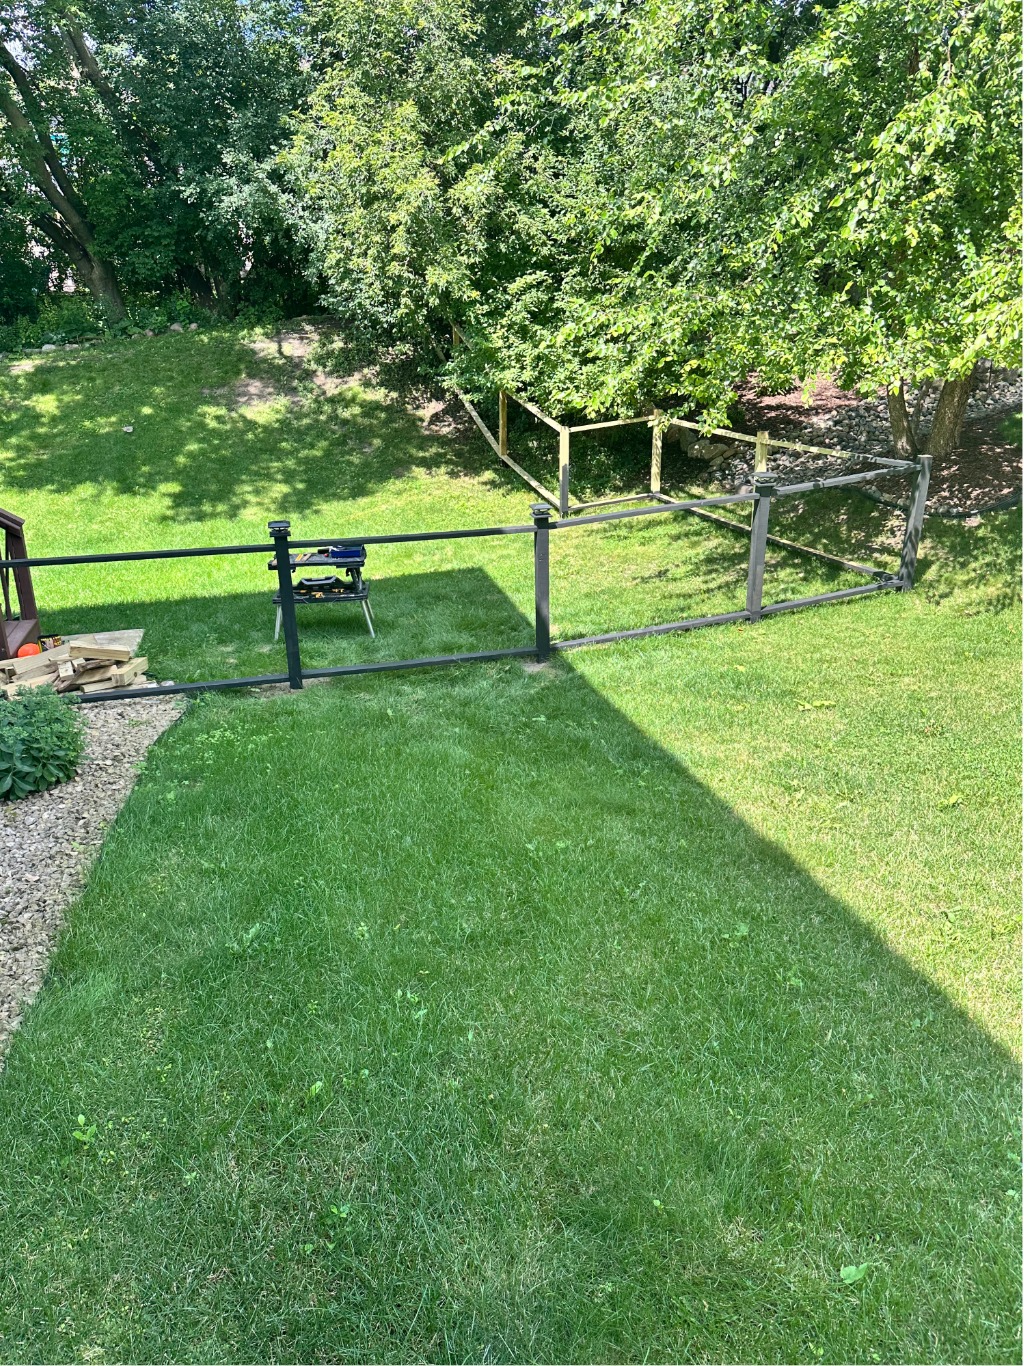
🌳 Stretch #2 — The Sloped Hill
The second run was along a steep hill through the woods. This time I followed the grade of the land instead of stepping posts. I didn’t bother making angled cuts on the rails — I just went with the flow of the slope.
Digging was brutal here, so I switched to post holder anchors. When using anchors, I cut 6 ft posts down to 4 ft.
Mistake of the project: I tried hammering them with a 4x4, which jammed into the holder and ruined one. Lesson learned. A 2x4 with a 3 lb hammer worked way better:
Post Holder Products:

Post Anchor Ground Spike 24 inch
Loading product information...


Style 2 required a bit of luck: I had to start counter-clockwise and hope it stopped turning at the bottom.
For rail attachments, I gave up on the pocket jig and just drove screws in at an angle. Faster, still solid.
On a couple spots, I used a spacer jig to hold up the top rail while I secured it. That little trick saved my arms and let me keep spacing consistent even while working solo.
📸 Gallery: Slope Method Build

🛠 DIY Hacks That Helped
- Temporary vertical spacers: two scrap 2x4s, same length as rail spacing. Rest the top rail on them while you screw it in. Keeps spacing consistent with no extra hands.
- Spacer jig for slopes: on uneven ground, prop up rails with a jig before fastening — no wrestling needed.
- Angle screws vs pocket jig: the pocket jig looks pro, but angling screws worked fine and was way faster.
🎨 Paint & Netting
Once the frame was up, it was time for paint. I used Deck Correct from Menards and gave everything two coats.
After it dried, I stapled the deer netting across. My best trick was leaving extra netting at the top/bottom and trimming with kitchen scissors afterward. (Just make sure to put the good scissors back or the Mrs. will find you 😅).
For a finishing touch, I added lighted post toppers:
Products:
Fence Posts Solar Caps
Loading product information...

Fence Posts Caps
Loading product information...

They really pull the look together at night.
💵 Material Costs
| Item | Qty / Size | Cost |
|---|---|---|
| 4x4 Pressure-Treated Posts | 20 (6 ft, some cut) | $211.60 |
| 2x4 Pressure-Treated Rails | 36 (8 ft) | $230.04 |
| Mini Pocket Jig | 1 (#18) | $18.00 |
| Screws | Boxes | $32.97 |
| Stakes & Rope | For layout | $12.27 |
| Circular Saw | 1 | $100.00 |
| Deck Correct Paint | 3 gallons | $60.00 |
| Brushes | 2 | $5.00 |
| Lighted Post Toppers | 12 caps | $50.00 |
| Gate Hardware Kit | 1 kit | $25.00 |
| Deer Netting | 1 roll | $55.00 |
| Post Stakes 16 Inch | 16 | $170.00 |
| Post Stakes 24 Inch | 16 | $170.00 |
Total: ~$970.88 in materials
Savings vs. chain link quotes: ~$4,029.12
📝 Lessons Learned
- Rocks will test your patience. Have alternate post spots in mind.
- If your fence isn’t load-bearing, packed dirt is usually fine — concrete optional.
- A circular saw makes life easier (and feels empowering once you get comfortable).
- Post holders save time in rocky or sloped ground, but each type has trade-offs.
- Don’t drive post holders with a 4x4. Use a 2x4 + heavy hammer.
- Spacer tricks let you solo-build while keeping everything level and consistent.
- Gates add load — if you’re going to use concrete anywhere, that’s the place.
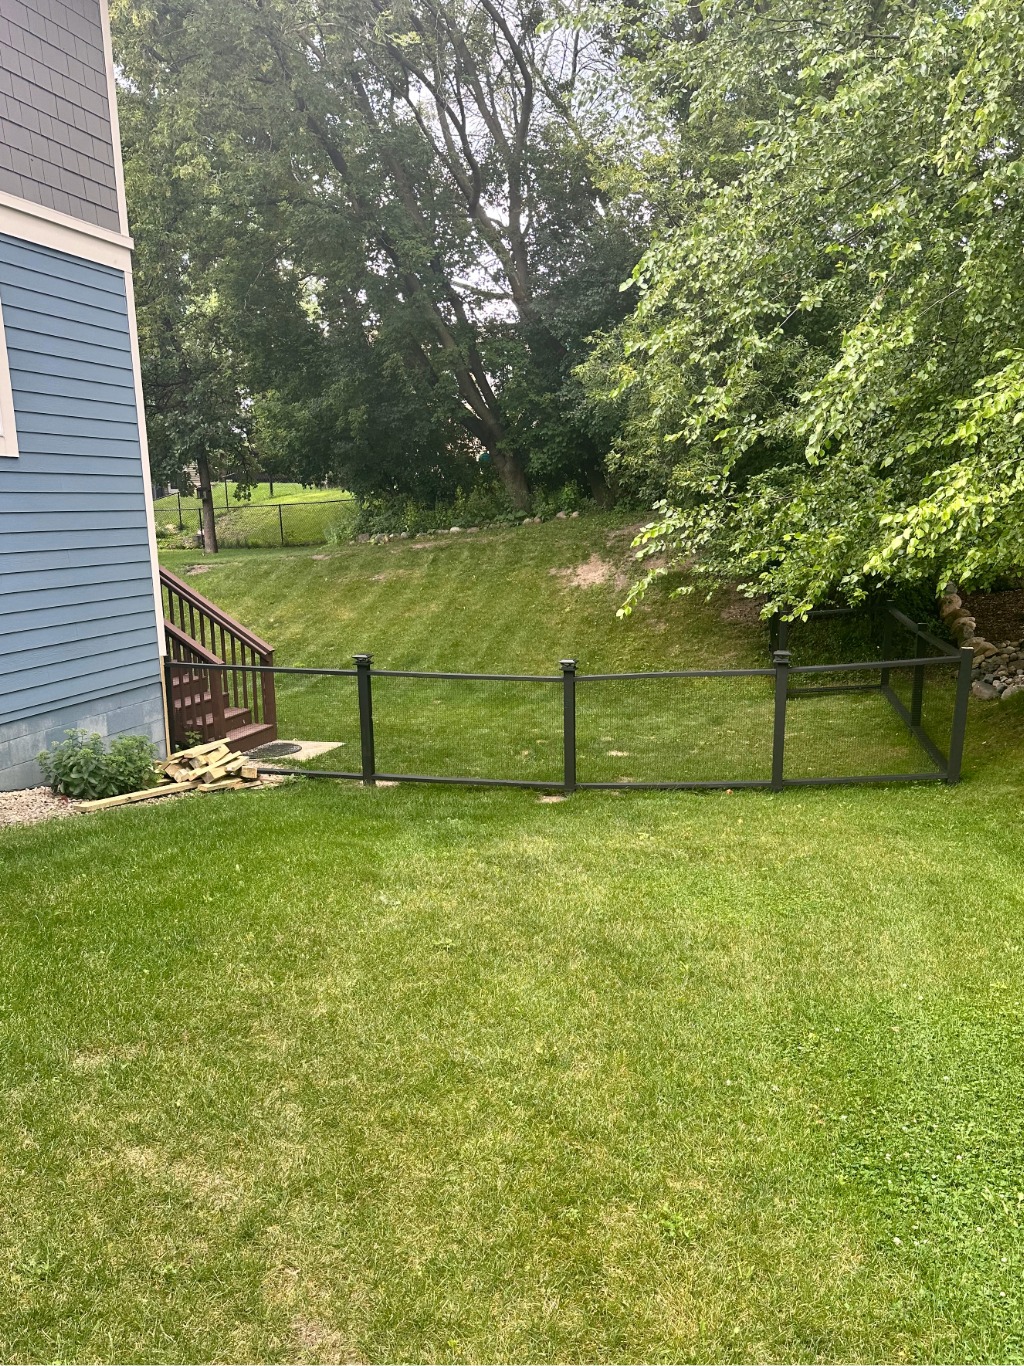
🐕 The Result
It’s not a fancy $5,000 chain link, but it works: the dog is safe, the view is open, and I built it myself. Total cost was just under $1,000 in materials and about six project days (two days for the short side with the gate, four days for the long side through the woods).
📸 Gallery: Finished Fence