
Jeep Headlights Install: Upgrade Your Wrangler’s Look and Visibility
Difficulty Level: Intermediate
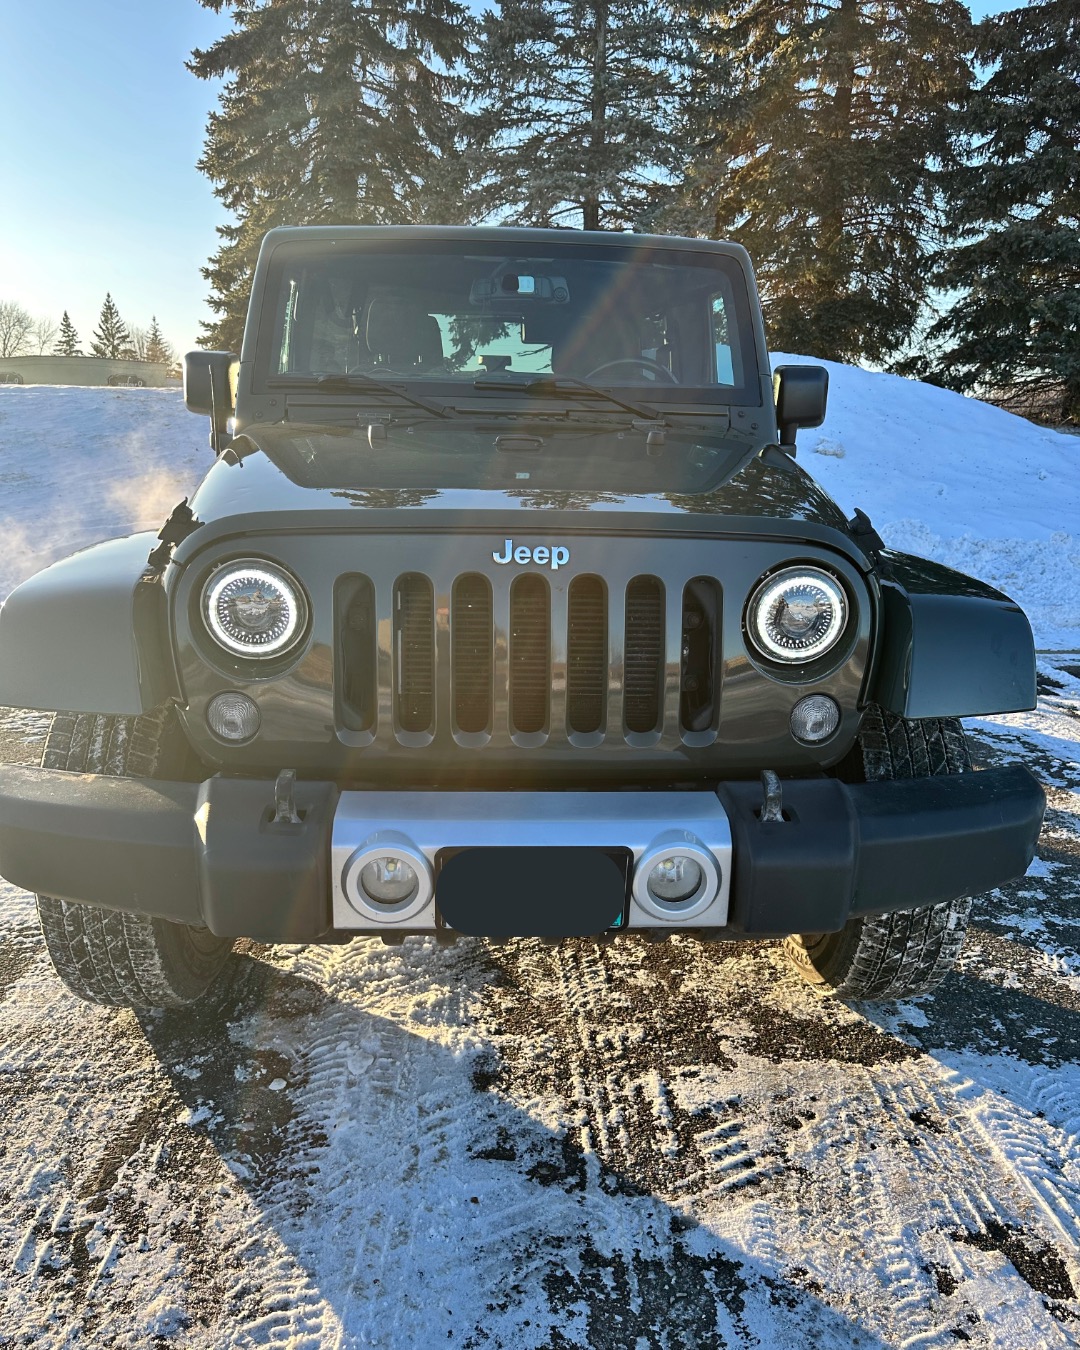
Upgrading your Jeep Wrangler’s headlights is one of the best ways to enhance both style and functionality. While I would not consider this a beginner-level install, it’s totally doable with the right tools and a little patience.
HWStar Jeep Wrangler Headlights
Loading product information...
What You’ll Need
Before you start, gather these essentials:
✅ Headlights – HWStar Jeep Wrangler Headlights
✅ Posi-Tap Connectors (For turn signal and startup lights) – Amazon Link
✅ Butt Connectors (Optional, for secure wiring connections) – Amazon Link
✅ Fuse Tap (Optional, for DRL wiring) – Amazon Link
🔧 Recommended Tool: A T15 Torx Screwdriver for removing and adjusting headlights.
Product not found for ID: t15-torx-screwdriver
Step 1: Removing the Factory Headlights
1️⃣ Pop the hood and remove the front grille. The plastic clips can be pried up with a flathead screwdriver or a trim removal tool. Be careful—if your screwdriver slips, it can scratch the grille.
💡 Pro Tip: If your Jeep is older, consider replacing the grille tabs. I ordered these: Replacement Tabs (Amazon) .
2️⃣ Remove the headlights using the T15 screwdriver. Most headlights are secured by a silver retaining ring—unscrew it and carefully slide out the headlight.
3️⃣ Disconnect the wiring harness from the old headlights.
Step 2: Installing the HWStar Headlights
1️⃣ Plug the new headlights into the existing harness. The main headlight function is plug-and-play, but I recommend wrapping the connection in electrical tape to keep it snug. Note: If you want the turn signal and daytime running lights, skip below and wire those up before the final step of securing the headlights with the silver ring.
2️⃣ Check the orientation! It’s easy to install these crooked (I learned that the hard way). Make sure they’re straight before securing them.
3️⃣ Secure the headlights with the silver retaining ring. At this point, your basic headlights will work, but if you want turn signal and daytime running light (DRL) functionality, continue below.
Step 3: Wiring the Turn Signals & DRLs
Turn Signal Integration
For the built-in turn signal lights, I recommend using Posi-Tap connectors instead of cutting wires. These let you tap into the Jeep’s turn signal wiring without damaging the factory harness.
🔹 Why Posi-Taps? If you ever want to undo the install, you can remove them without any permanent changes. Unlike cutting wires, there’s no going back from that.
Daytime Running Lights (DRLs) & Startup Sequence
If you want the DRLs and startup animation, you’ll need a power source that stays on when the Jeep is running.
▶️ This video tutorial explains how to wire a fuse tap for continuous power: Watch Here (YouTube) .
⚠️ Heads-up: Using this method, the DRLs will always be on when the Jeep is running, and there’s no way to turn them off manually.
My Personal Experience:
I originally wired the DRLs this way, but I’m considering switching to the running light circuit instead so I can control them with my headlights.
Funny story—I was parked at Chili’s, right in front of a window, and my DRLs were blasting light into some poor couple’s dinner. Awkward.
💡 Alternative Method: If you want control over the DRLs, tap into the running lights instead—this way, they only turn on when your headlights are on.
▶️ If you’re interested in a full breakdown of using a fuse tap, check out this video: Watch Here (YouTube) .
Step 4: Adjusting the Headlight Beam
🚗 Now that your headlights are installed, don’t forget to adjust the beam so you’re not blinding oncoming traffic.
▶️ This video guide walks through headlight calibration: Watch Here (YouTube) .
🛠️ The T15 screwdriver I linked above lets you adjust the headlights anytime—no need to remove the grille again!
Final Thoughts
✅ Install difficulty: Intermediate (just take your time)
✅ Upgrade benefits: Better visibility, modern look, and added DRL functionality
✅ Worth it? Absolutely—just make sure to adjust the beam angle so you don’t become that Jeep driver.
Enjoy your new headlights!
As an Amazon Associate, I earn from qualifying purchases.


